Audio version
0:00
Video summary
Most website projects do not fail because of the technology. They fail because the steps happen in the wrong order, or one is skipped in the hope of saving time. Here are all nine, in the order that works, with the actual time each takes.
Step 1: decide what the website should get people to do
Not ‘present the company’. A precise action: call, request a quote, book an appointment or buy. A website aiming for two actions aims for neither.
This decision determines everything else. A website designed to generate calls puts a tappable number at the top of every mobile screen. One designed to generate quote requests has a short form and a stated response time. These are not the same pages.
Time: one hour of honest thought. It is the cheapest and most valuable stage of the project.
Step 2: the domain name
Do this early because the name you want may already be taken. Keep it short, easy to say over the phone and, if possible, without a hyphen. Choose .fr if you work in France: it inspires local trust and costs less.
The non-negotiable point: buy it yourself, in your name, with your email address as the owner’s contact. Even if a provider offers to handle it. It is the only part of the project you cannot rebuild if you lose it.
Time: fifteen minutes. Cost: €8 to €20 per year.
Step 3: the page list
Write down the pages you need and, for each one, who it is for and what it should prompt them to do. Most businesses need fewer pages than they think.
- Home: a summary of everything and the path to action.
- One page per important service. These are what rank on Google, not the homepage.
- About: evidence that you exist and are credible.
- Contact: details, form, map and opening hours.
- Projects or reviews: proof through completed work.
Five to eight pages are enough for a serious start. A thirty-page website that never gets filled is worse than a complete six-page one.

Step 4: write the text
The stage everyone puts off, and the main reason projects drag on for six months. Write before choosing a tool and before discussing design. Design gives content a form; it does not replace it.
A method that gets you unstuck: for each page, answer three questions out loud as if a customer were in front of you. What exactly do I do, who is it for, and why choose me over someone else? Record yourself, transcribe and edit. The resulting text is always better than what you write facing a blank page.
Time: ten to twenty hours for six pages if you do it yourself. Cost if delegated: €80 to €250 per page.
Step 5: the photos
Real photos of your work, premises and team. Not stock images. Visitors recognise a stock photo in a second, and the conclusion they draw is not flattering.
If the budget does not stretch to a photographer, a recent phone in daylight gives very decent results. What matters is that it is really you. An imperfect but authentic photo converts better than a perfect, interchangeable image.
Time: half a day. Cost if delegated: €400 to €900 for half a day.
Step 6: choose the tool
Only now. You know what the website needs to do, how many pages it will have and what will be on them. The choice becomes straightforward instead of a gamble. The comparison of WordPress, Wix, Shopify and bespoke development helps you choose a solution suited to that scope.
- A simple business website you want to manage yourself: Wix or Squarespace. Complete independence, €150 to €400 per year.
- A business website someone will maintain for you: WordPress remains the standard, with essential maintenance.
- Online sales: Shopify if the catalogue is simple, WooCommerce if you want full control.
- Design that genuinely needs to set you apart: bespoke development with a provider.
None of these choices is irreversible, but changing later is expensive. That is why you choose after writing, not before.
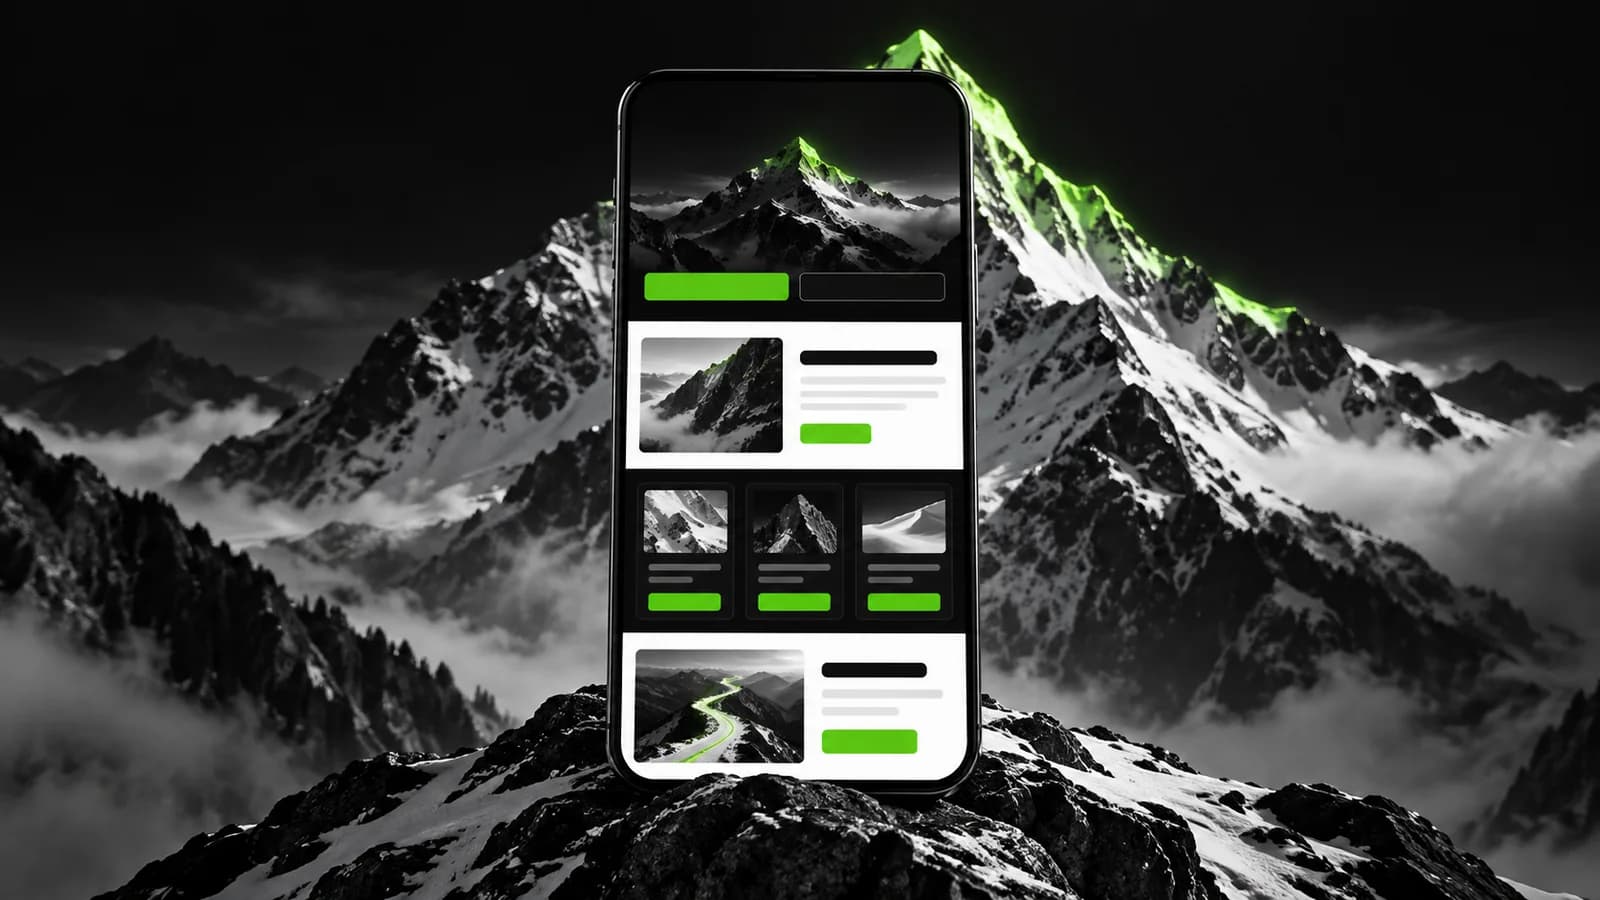
Step 7: the mockup
See it before paying. A mockup shows the layout, hierarchy, colours and button placement. It is approved together, in one place, before anyone writes a line of code.
One rule saves weeks: one person gives approval. A mockup sent to three partners returns with three conflicting opinions, two about a button’s colour, and each round costs a week in the schedule for two hours of actual work.
Step 8: building and acceptance testing
The website is built. Then comes the stage almost everyone rushes: acceptance testing, meaning systematic checks before launch.
- Open every page on your own phone, not just a computer.
- Submit the contact form and check that the message really arrives in the right inbox without ending up in spam.
- Click every link, including those in the footer.
- Call the displayed number from a mobile to check that it is tappable and correct.
- Check that the HTTPS padlock appears.
- Have someone unfamiliar with your industry read the text.
A form whose messages go nowhere is the most common and costly fault. It takes two minutes to test.
Step 9: launch and what comes next
The website is live. It is immediately visible to people you give the address to, but Google takes time. Allow a few days to a few weeks for indexing, and three to six months before making an impact on competitive searches.
Three free, high-return actions to take during launch week.
- Claim and complete your Google Business Profile. For a local business, it often brings more than the website itself.
- Register the website in Search Console and submit the sitemap. This speeds up indexing.
- Put the address everywhere: email signatures, invoices, quotes, social media and vehicles.
Above all, treat the website as unfinished. A living website with changing photos and information performs better than one frozen on delivery day. That is true for your visitors and for Google.
Frequently asked questions
01What order should I follow?
Goal, domain name, page list, text, photos, tool selection, mockup, building and acceptance testing, then launch. The most common mistake is choosing the tool first, before even knowing what will be on the website.
02Should I write the text before choosing the tool?
Yes. Content determines structure, and structure determines the tool. Doing it the other way round is like buying shelves before knowing what you need to store.
03How many pages do I need to start?
Five to eight. Home, one page per important service, about, contact and a page showing evidence of your work. Service pages are what rank on Google, not the homepage.
04What should I do straight after launch?
Three free things: complete your Google Business Profile, register the website and its sitemap in Search Console, and share the address everywhere, from email signatures to quotes.
05Can I create a website without knowing how to code?
Yes, absolutely. Wix, Squarespace and Shopify take thirty to fifty hours for a decent result without a line of code. The hard work is not technical: it is writing the text and gathering real photos.